
New Features
Better self-service or assisted check-in.
We have enhanced the Check-in Kiosk and the Customer Display with even more features to improve the check-in process, whether with or without hotel staff present. These additions are part of our system's evolution towards reducing the front desk workload.
The three modules: Online check-in, Check-in Kiosk, and Customer Display, work together to provide your guests with digital check-in, checkout, key card issuance, payment, and electronic invoicing services, thereby freeing up valuable time for front desk staff. Here is a brief overview of what is new in this area, along with further details for each feature:
- Check-in Kiosk - check-in – the guest can enter registration card details;
- Check-in Kiosk - check-in – the system can extract guest data from their ID card/passport via the camera;
- Check-in Kiosk - login – the guest can log in by presenting their ID card to the camera;
- Check-in Kiosk - duplicate ID card verification has been added;
- Customer Display - the guest can enter missing information directly on the display.
Check-in Kiosk
We have added the ability for guests to check in directly at the Kiosk, without the need to have previously completed Online check-in.
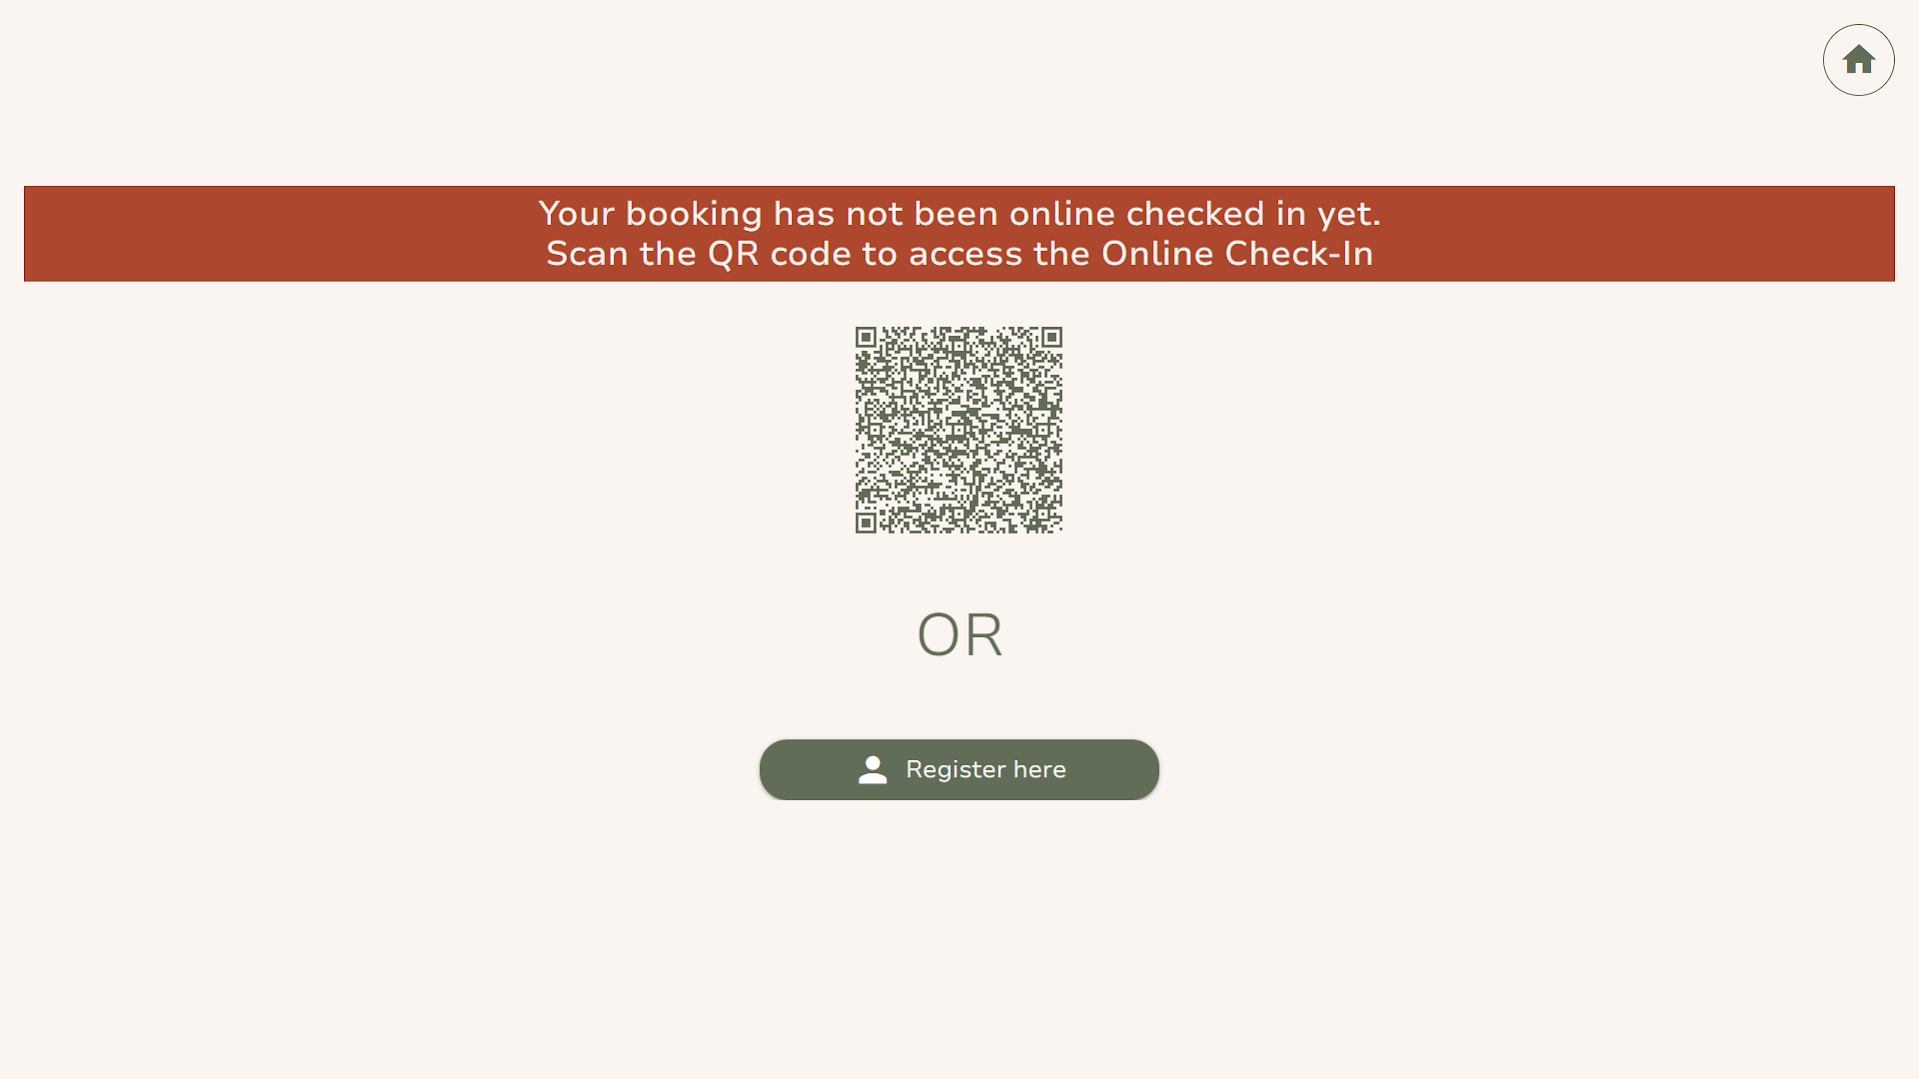
Similar to Online check-in, you can configure the Kiosk to require photos of the ID card and passport, in which case it will extract the necessary information from them. You can also allow registration card details to be entered manually by the guest. Both entry methods can work together or independently.
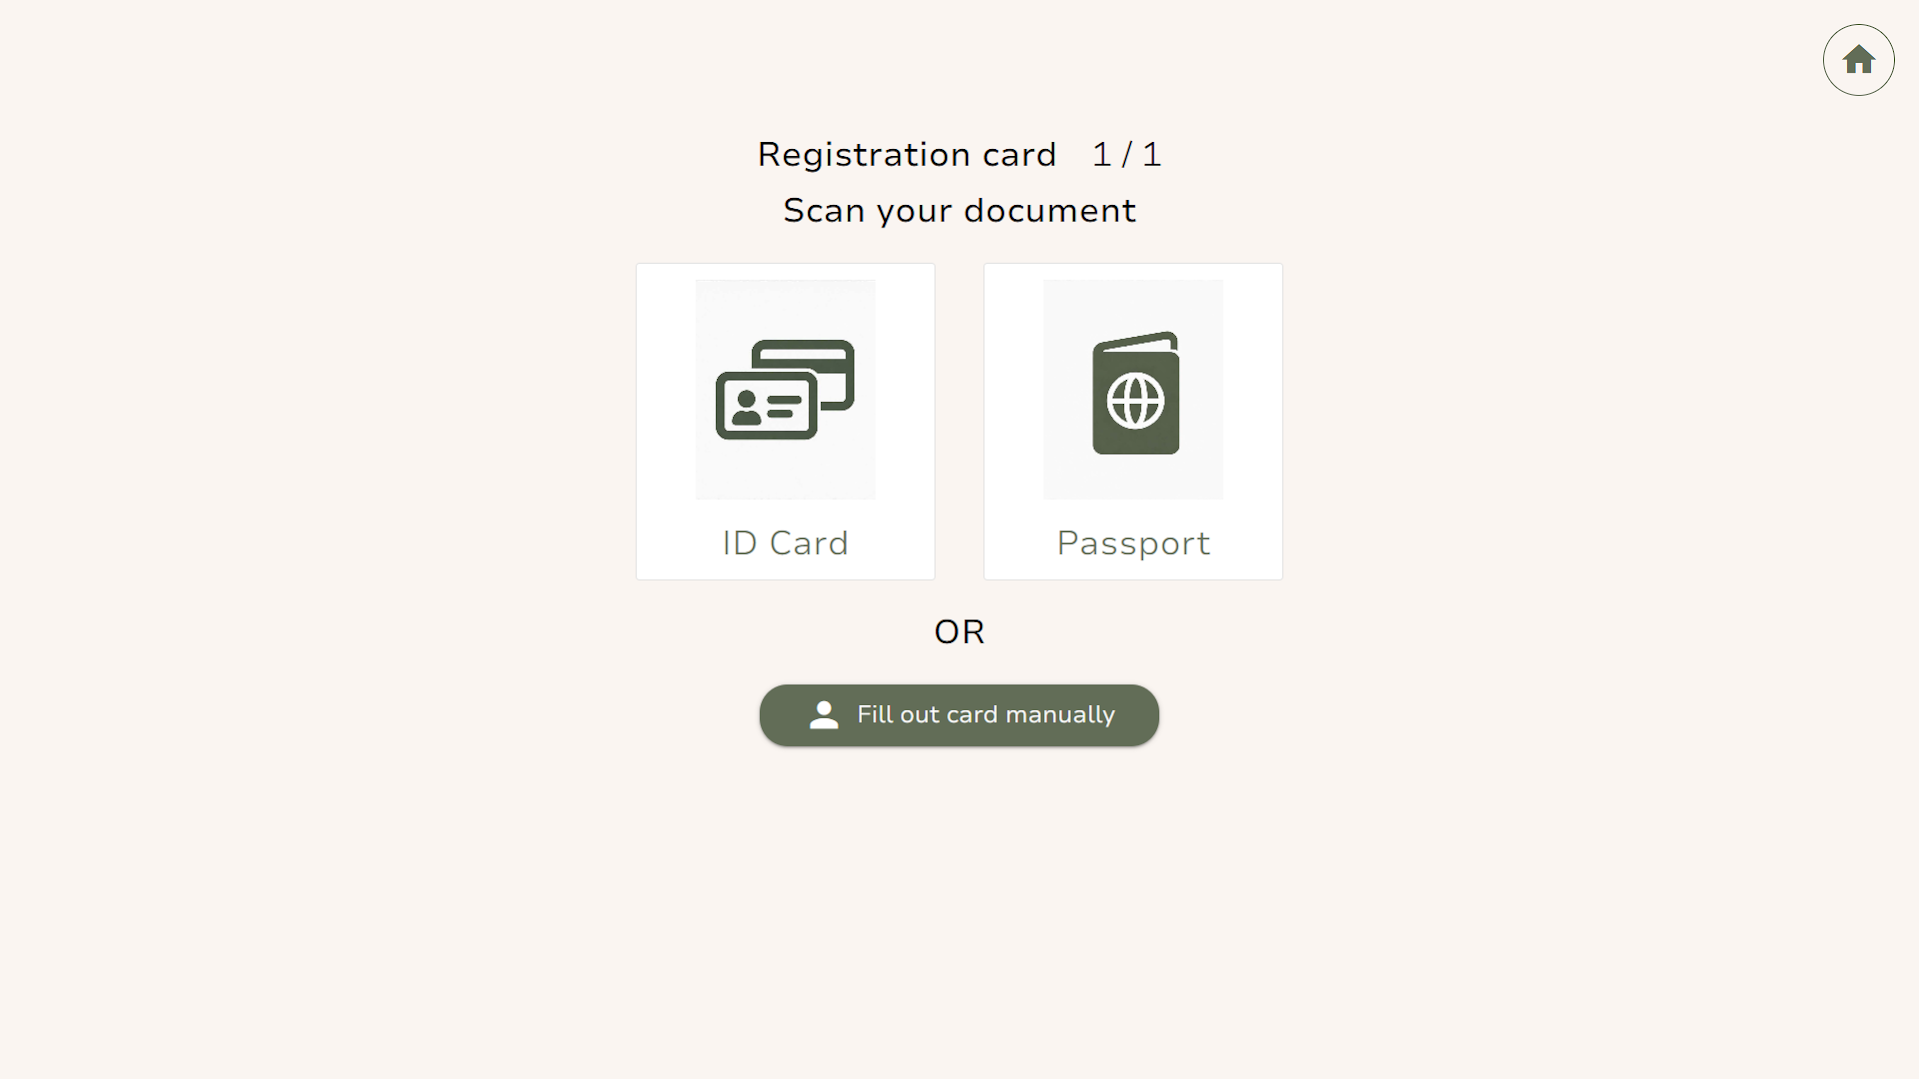
Here is an entirely new perspective on how guests interact with the Kiosk:
- The guest stands in front of the Kiosk and takes a photo of their ID card (or passport).
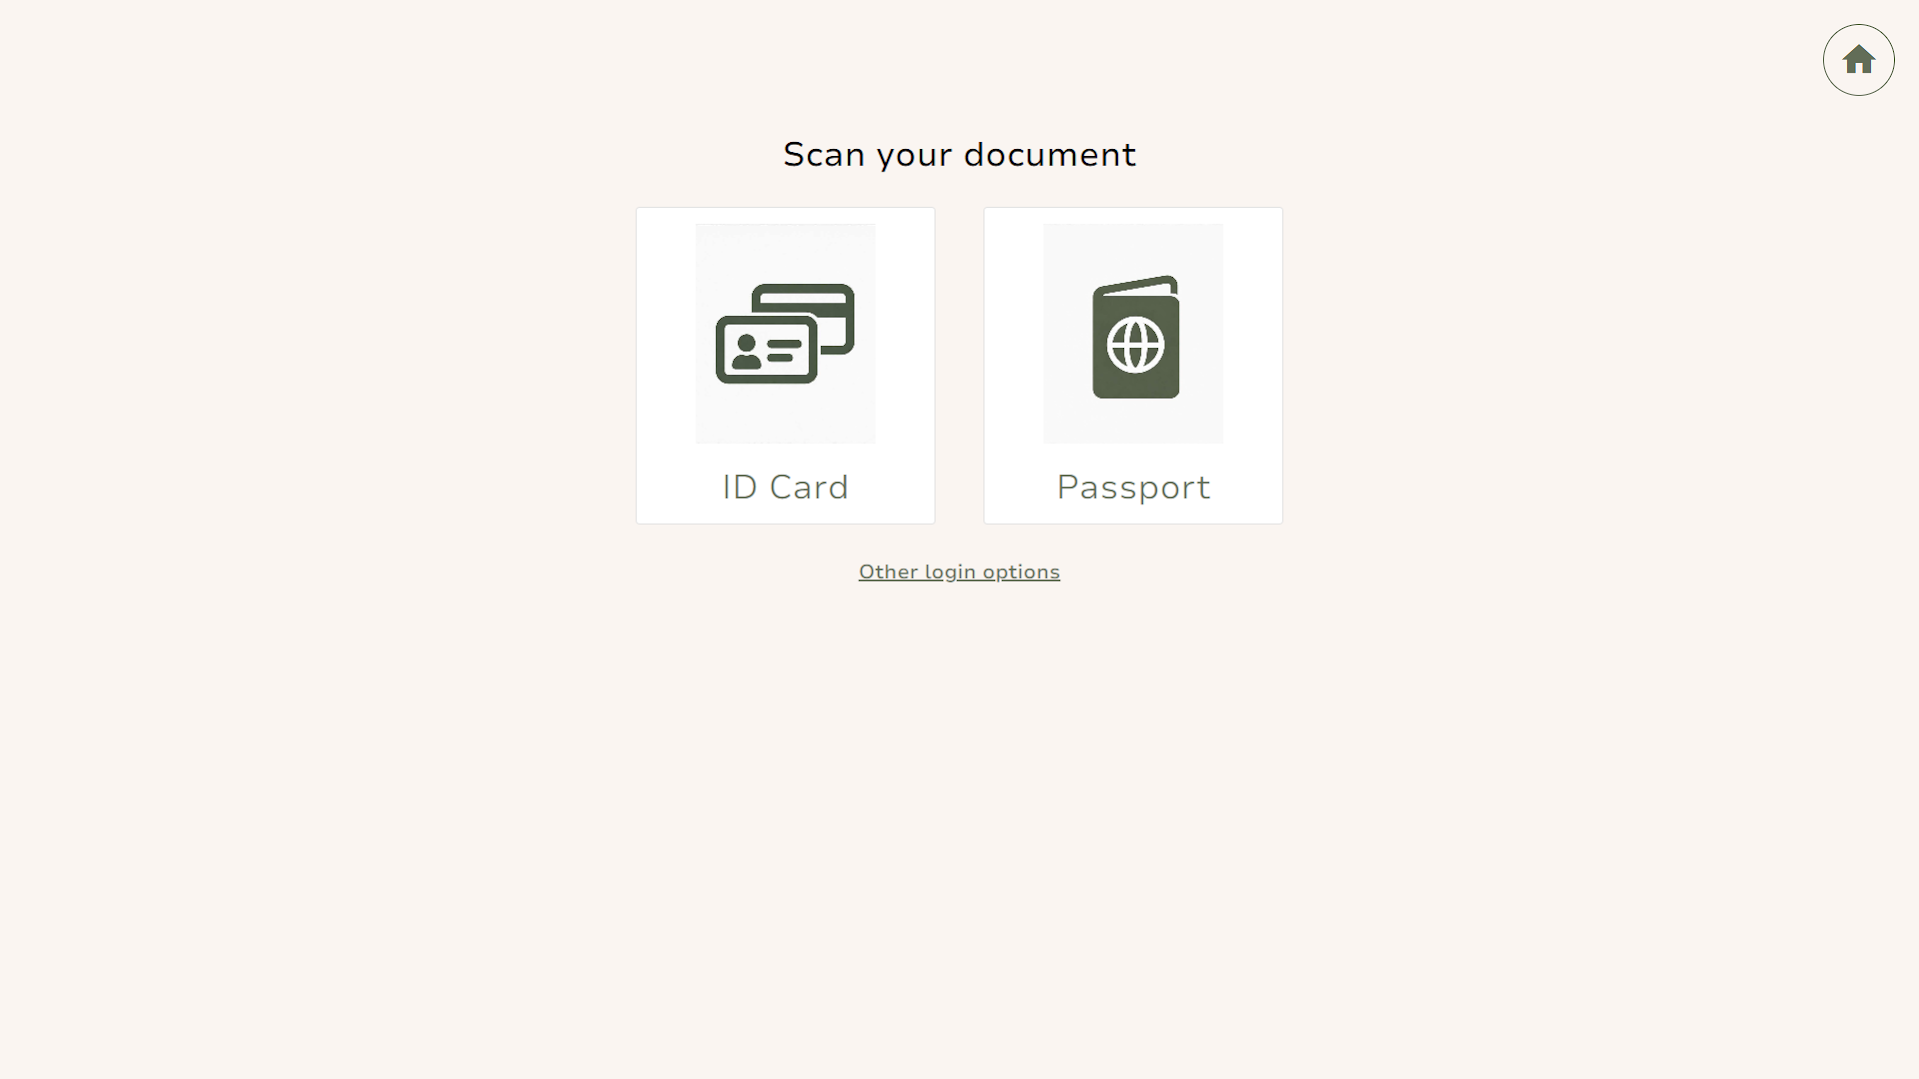
- The Kiosk recognises them, finds their booking, automatically populates the details in their registration card, and proceeds to the next step. This makes the check-in process as quick and seamless as possible for the guest, while providing the hotel with the security of machine-recognised identity documents.
- Naturally, we have also catered for situations where things do not go strictly to plan. If the guest's name on the booking does not match the name on the ID document 100%, the guest can log in to the Kiosk using standard methods: via QR code, booking number and PIN, or simply by entering their surname. Login options are configurable.
- In addition to these enhancements, we have made another change. Practice shows that during online check-in, some guests, in order to save time, register all guests under the booking with the same ID card. We have updated the system to act just as a receptionist would – to prevent registering multiple guests within a single booking using the same identity document. Please note that the requirement regarding the number of registration cards is configurable. You can choose whether to require one registration card for the entire booking, one for each adult, or one for every guest, including children.
Tip: When installing the Kiosk and setting up document recognition, make sure the area in front of the kiosk is well-lit, while avoiding direct light that could cause glare on documents.
Important: Document recognition features require the optional “ID Processor” module.
Customer Display
The Customer Display facilitates communication between reception and the guest by allowing them to review their registration card details and sign directly on the display.
- We have added a new capability allowing the guest to personally enter their registration card details on the Customer Display. This feature is also particularly useful when you need to obtain additional information from the guest, such as a telephone number or email address.
Instead of the guest having to state this personal information aloud at reception, you can ask them to enter the required details directly on the Customer Display. This is a straightforward and secure way to collect missing information.
- We have also added a feedback mechanism for the receptionist. Once the guest enters the required information and signs their registration card, the receptionist can immediately review it to verify that everything has been filled in correctly. If they identify missing or incorrectly entered details, they can reactivate the Customer Display to allow the guest to make the necessary corrections. Registration card details are displayed both before and after they are filled in by the guest.
- The receptionist can choose whether to provide the guest with the option to enter, review, and sign the data, or solely to review and sign.
Payment Links
Need even greater flexibility with payments? You now have it! With this new feature, you can send the customer a link to pay an amount specified by you. The link can be sent via your preferred communication channel – chat, email, or any other.
One of the main advantages of payment links is that amounts can be paid not only by payment card, but also via alternative payment methods supported by your payment provider. These can include, for example, Apple Pay, Google Pay, PayPal, Alipay, WeChat Pay, Klarna, iDEAL/Wero, BLIK, Bancontact, Swish, MobilePay/Vipps, TWINT, and others. The specific methods depend on your payment provider. In addition to standard integrated payment providers, configured Custom Payment Providers are also supported.
Another advantage is that for card payments, 3DS protection can be triggered depending on the settings of the payment provider and the bank. This provides extra protection against payment disputes (chargebacks).
How to generate a payment link
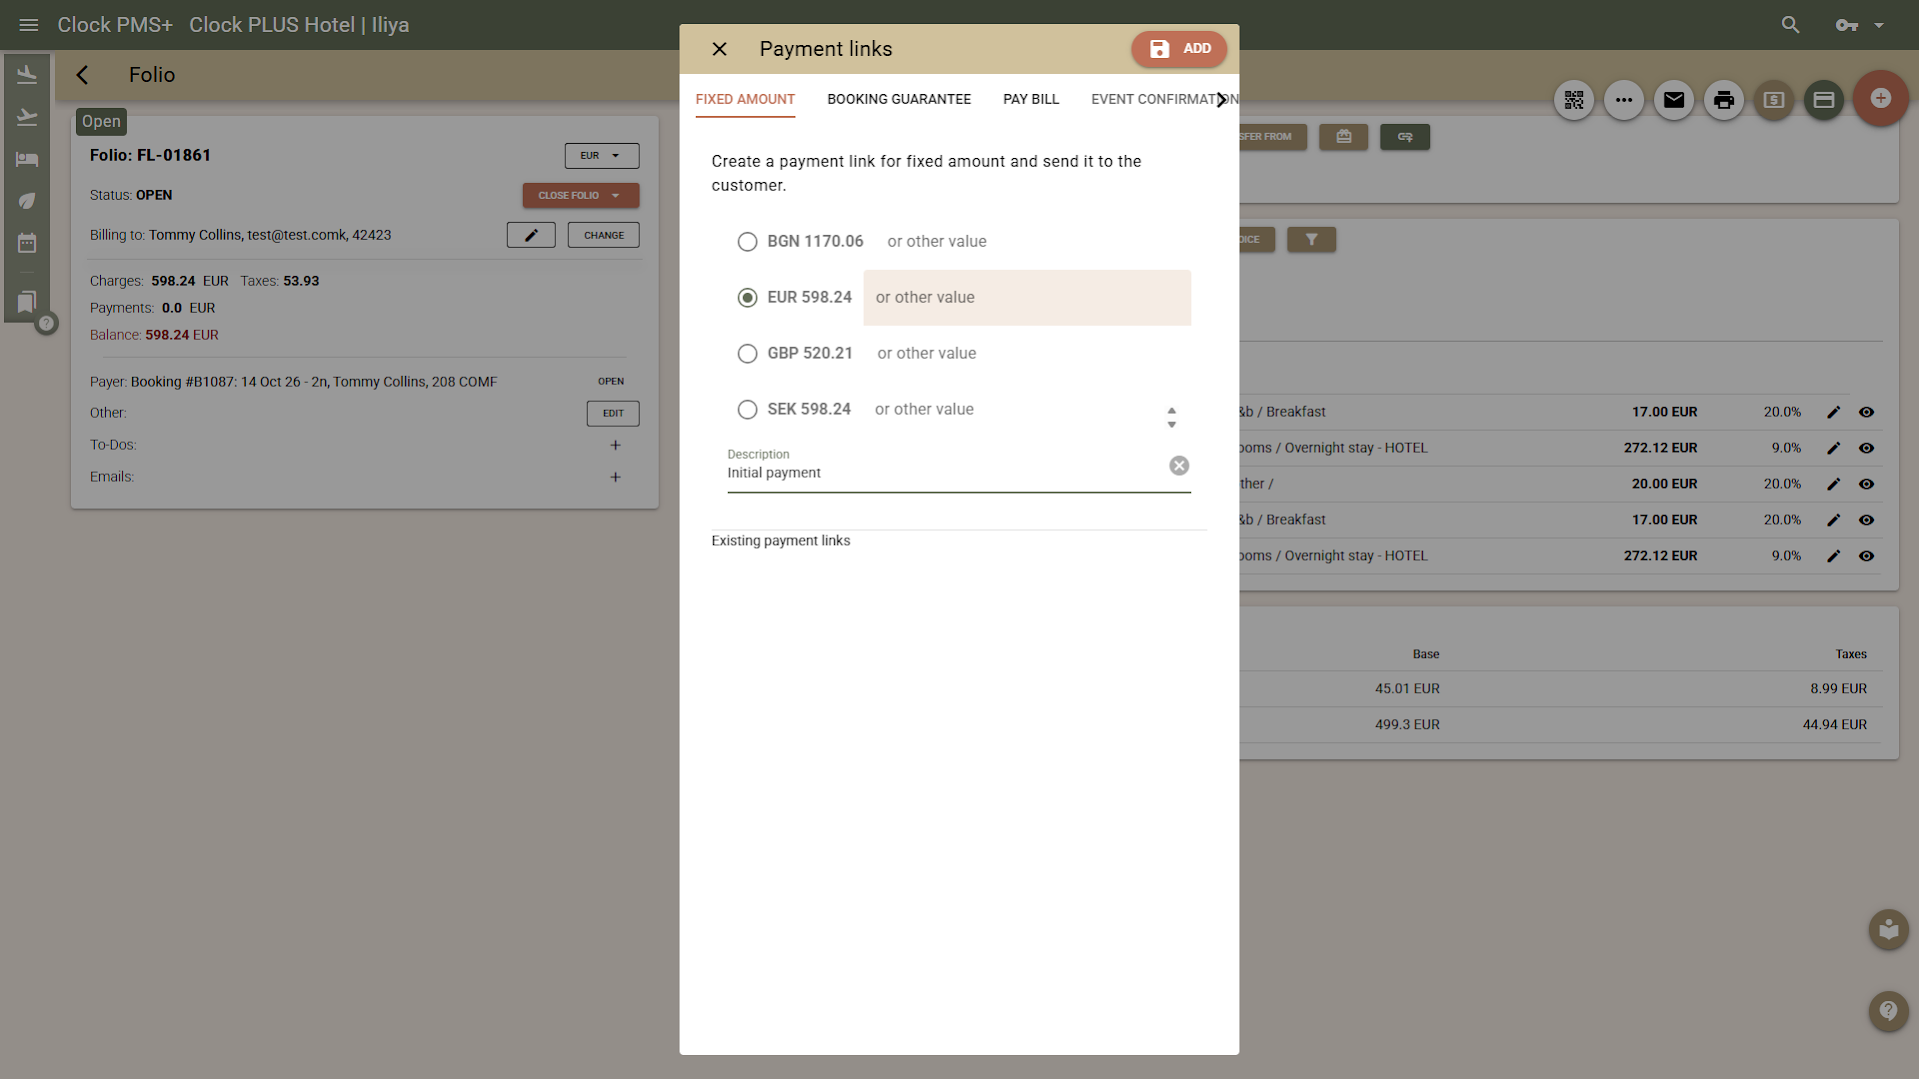
- Open the folio for which you wish to receive payment, and select the button for a new payment link in the payments section.
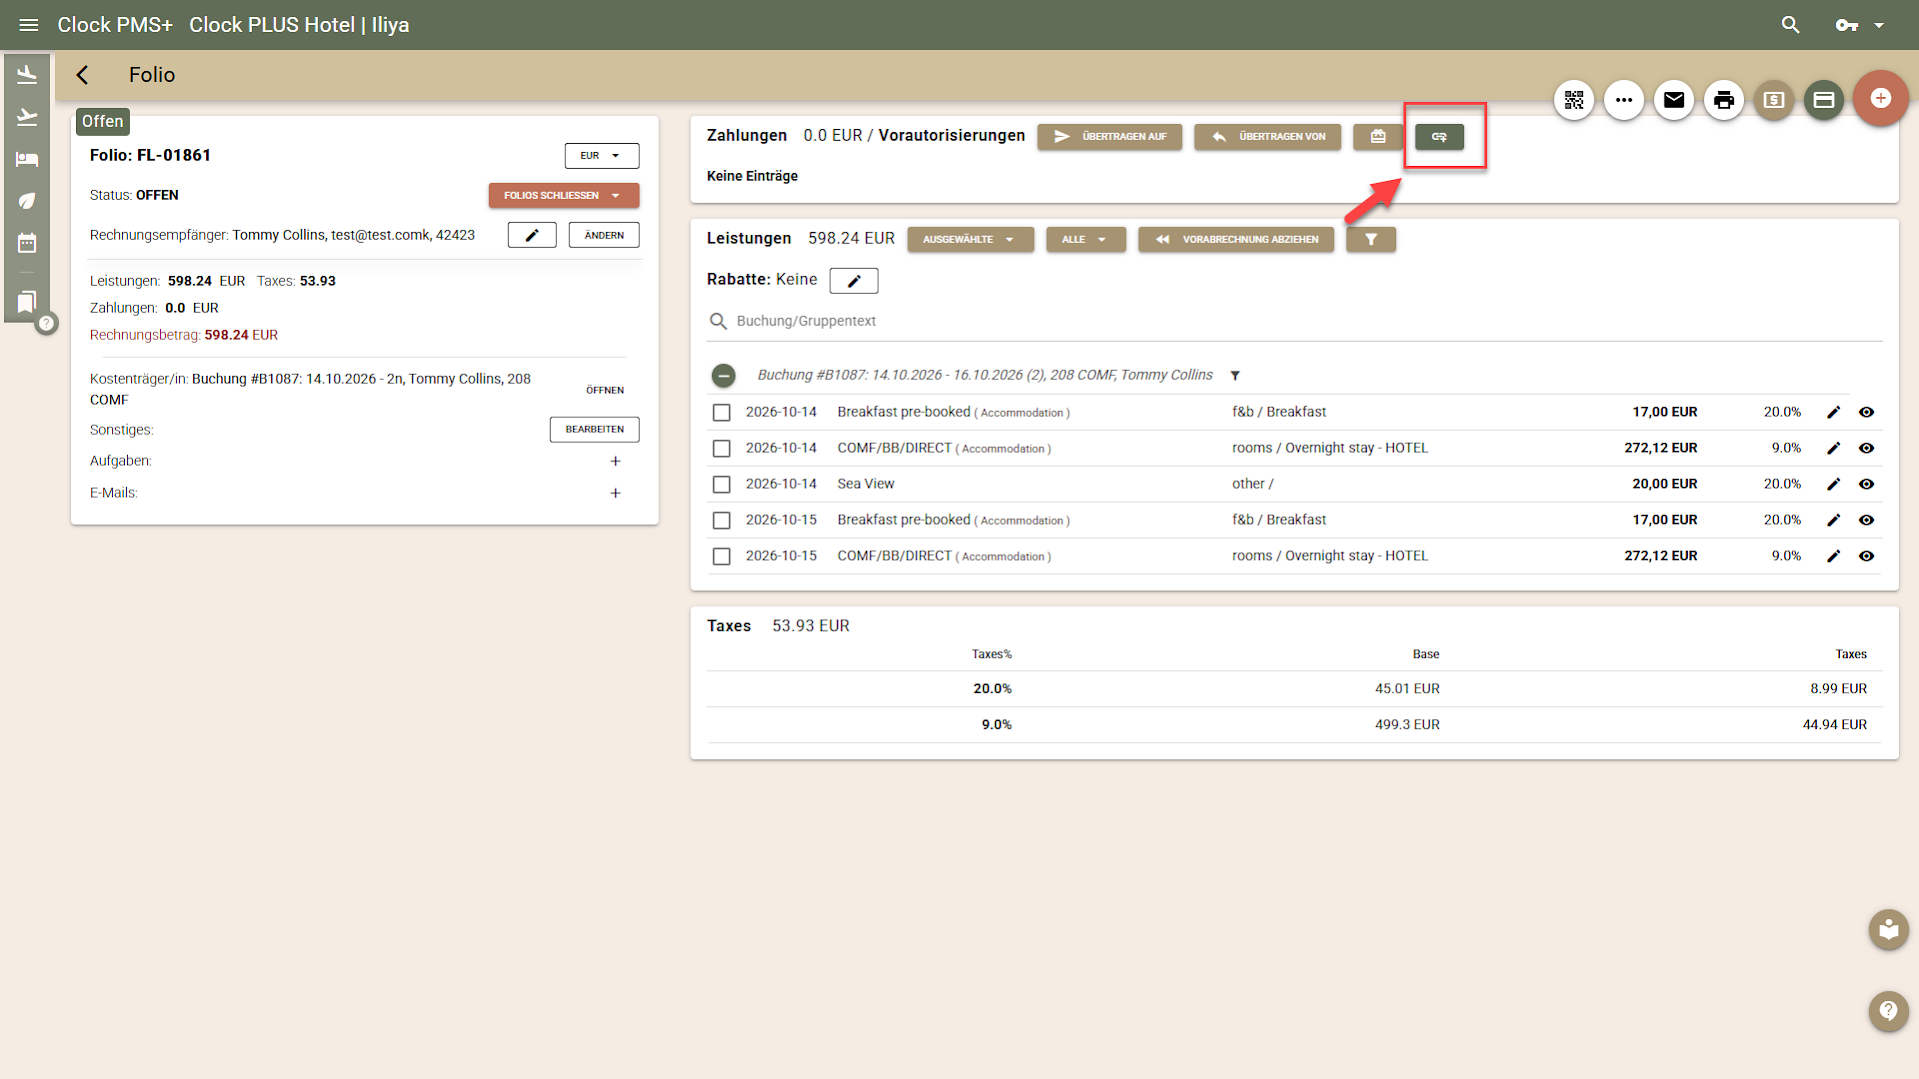
- For your convenience, we have also placed the other links in the system used to receive payments in the same location:
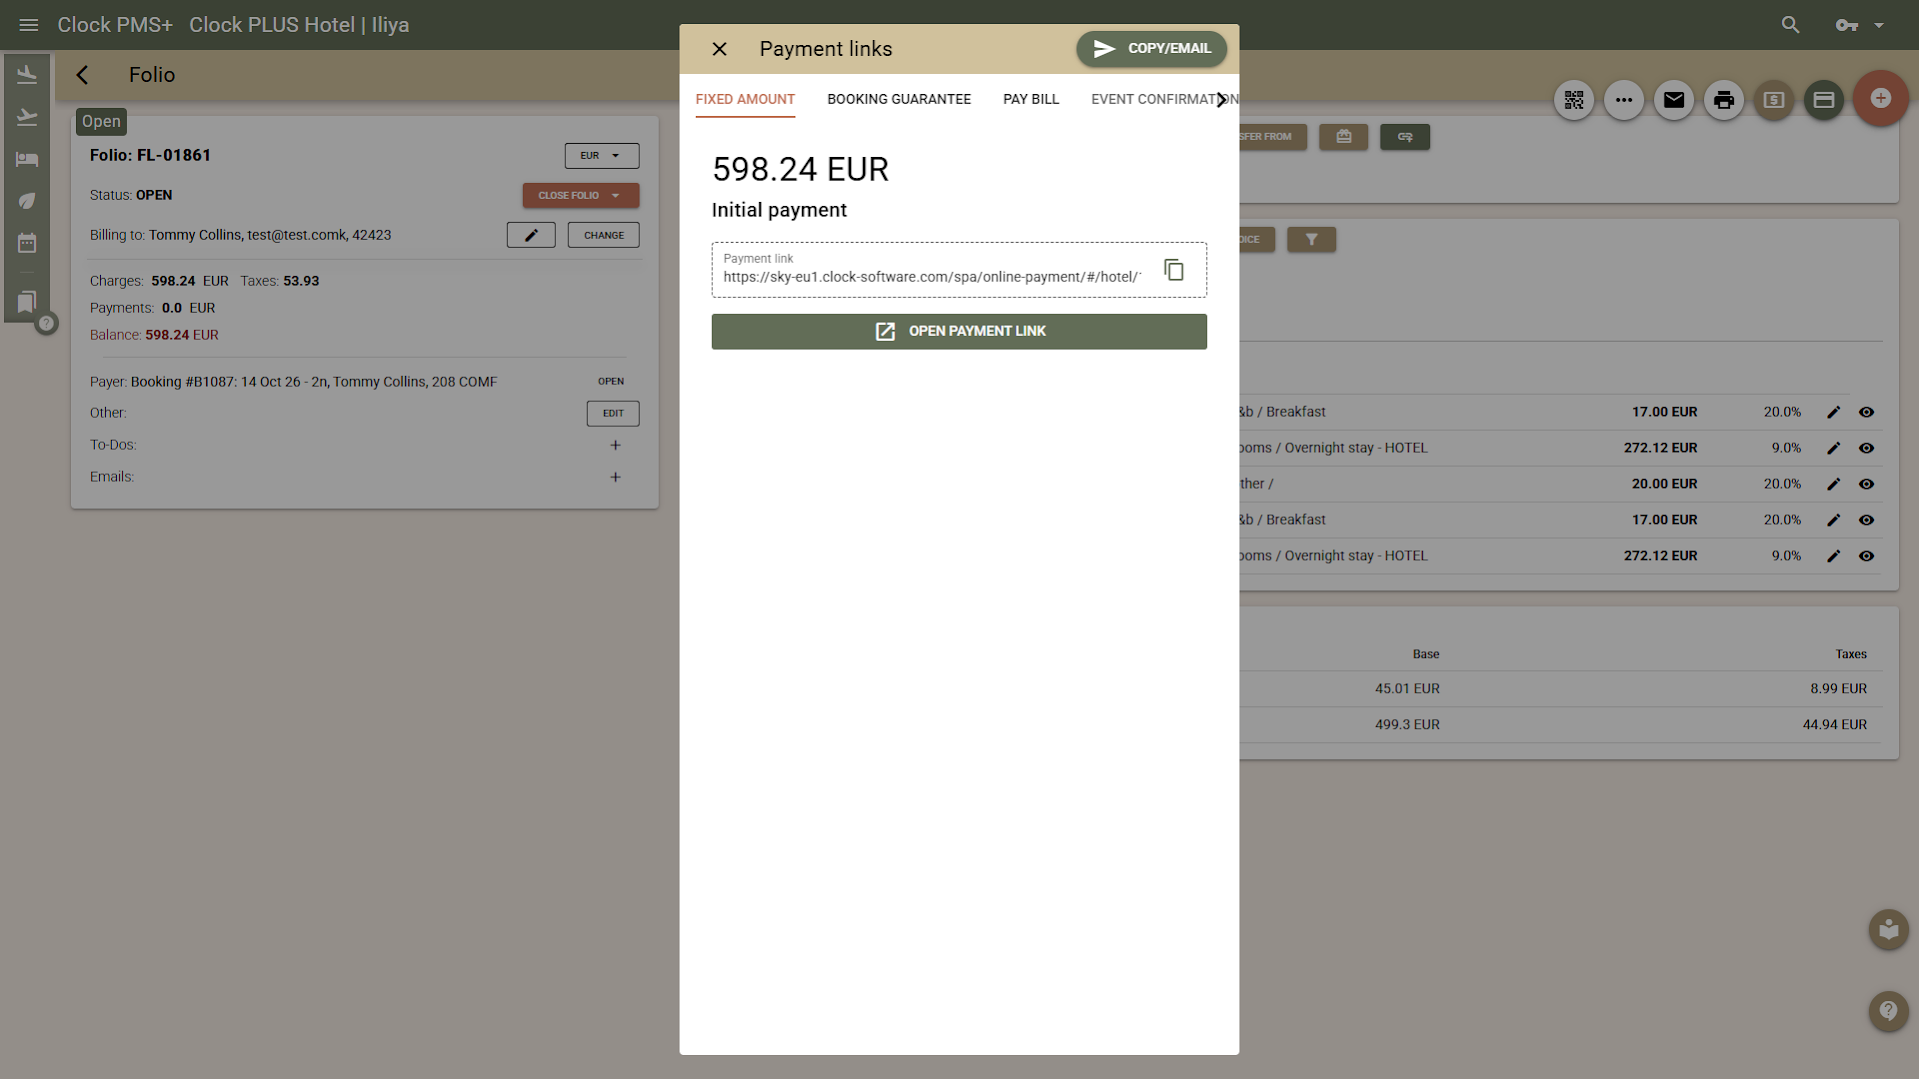
- Fixed amount. This is the new feature where you specify the amount the customer needs to pay. You can copy the generated link and send it to the customer. Using the “Copy/Email” button, the link is copied automatically and the compose email screen opens, where you can paste it. The feature is available for all folio types.
- Booking guarantee. Quick access to the link for the feature in the Guest Portal through which the guest can pay the required deposit to guarantee their booking. The feature is available only for booking folios.
- Pay bill. Quick access to the link for the feature in the Guest Portal through which the guest can pay outstanding balances and take advantage of the option to issue an invoice to a company. The feature is available only for booking folios.
- Event confirmation. Quick access to the link for the application to confirm events and pay the required deposit. The feature is available only for event folios.
- Fixed amount. This is the new feature where you specify the amount the customer needs to pay. You can copy the generated link and send it to the customer. Using the “Copy/Email” button, the link is copied automatically and the compose email screen opens, where you can paste it. The feature is available for all folio types.
How the payment link works
- When the guest opens the payment link, they are prompted to pay the specified amount by card or through an alternative payment method supported by your payment provider.
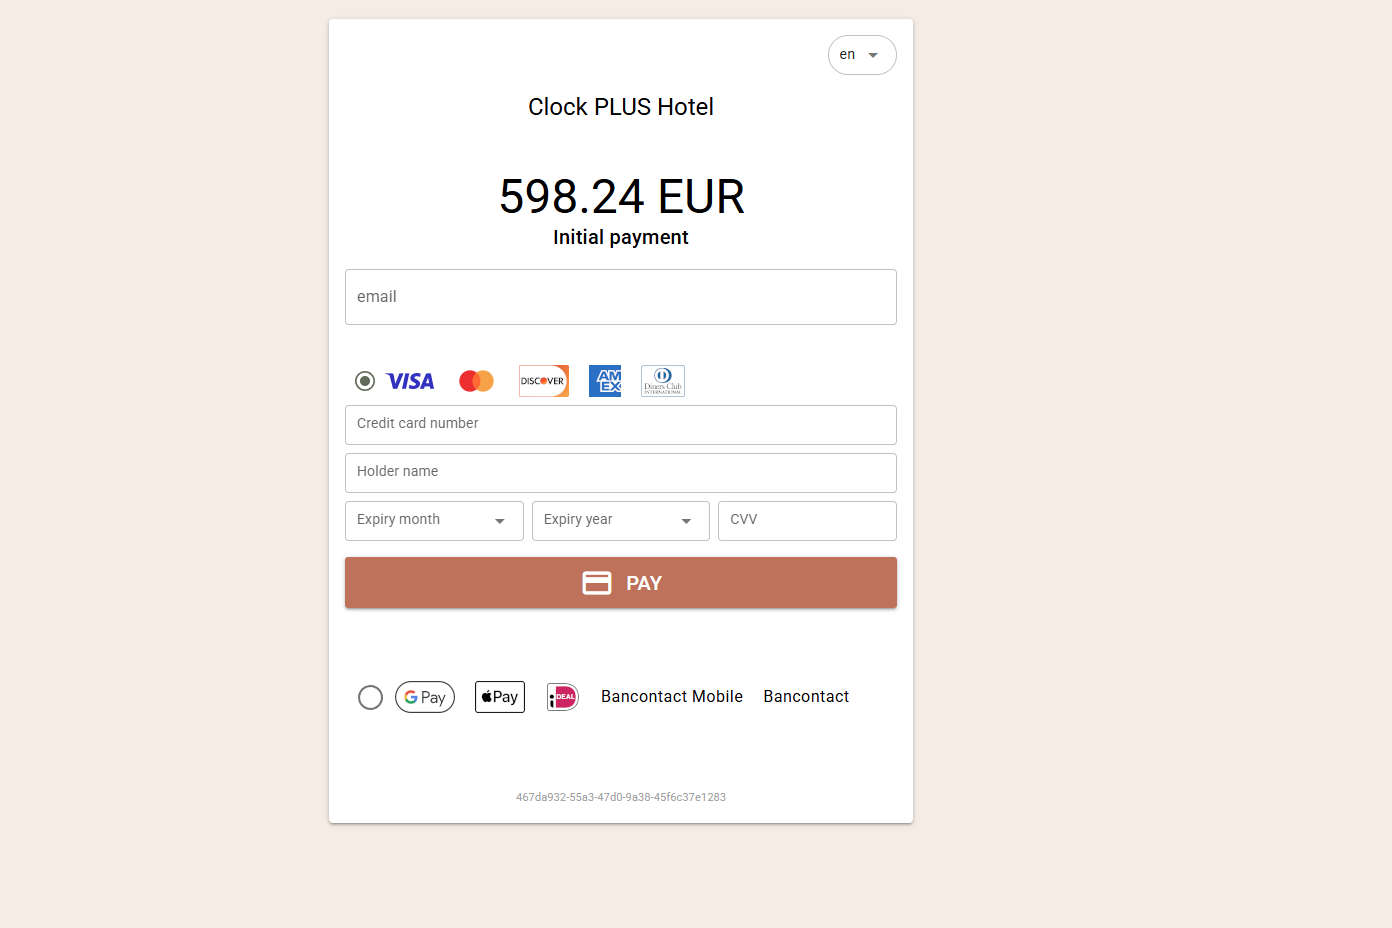
- If for any reason the payment is unsuccessful, the guest has the option to retry twice more (three attempts in total). This means you do not need to generate a new payment link if the guest does not succeed on the first attempt. The system will prompt them to try again.
- However, after three unsuccessful attempts, for security reasons, the link becomes invalid and cannot be reused. In this case, you will need to generate and send a new payment link.
- Following a successful payment, the guest receives a confirmation email, with a copy to you, and the payment is automatically added to the folio for which the link was generated.
Target/Budget
We have added a new management and planning feature that allows you to set your future goals (targets/budgets) and track their performance.
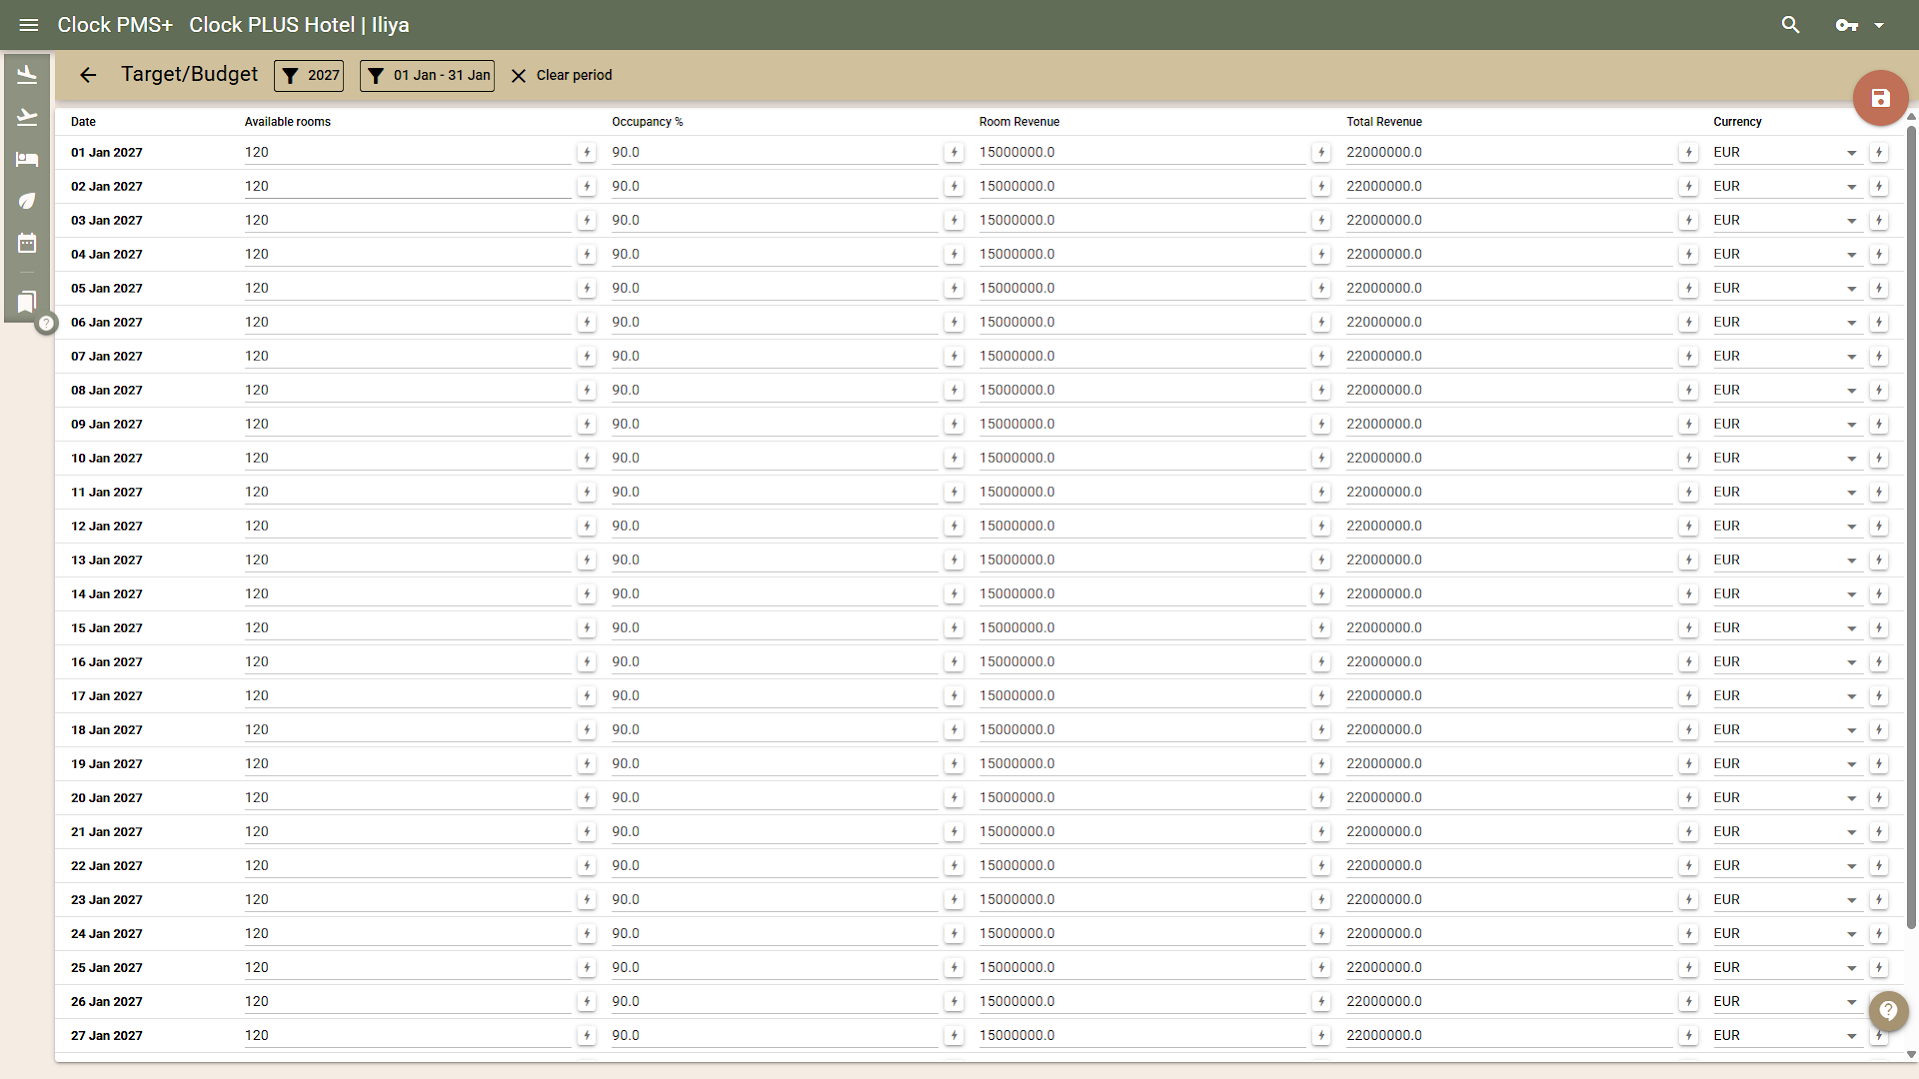
Using a convenient editor that also supports bulk data entry across multiple dates simultaneously, you can quickly define projected values for any future day across the following indicators: Available Rooms, Occupancy Percentage, Room Revenue (rooms + packages), Total Revenue.
Based on the entered values, the system automatically calculates four additional indicators:
- Rooms Sold = Available Rooms × (Occupancy Percentage / 100)
- ADR = Room Revenue / Rooms Sold
- RevPAR = Room Revenue / Available Rooms
- TRevPAR = Total Revenue / Available Rooms
All eight projected indicators can be added as separate rows in management reports. This allows you to build custom reports to track and compare actual results against planned targets.
In addition, in the forthcoming new version of Occupancy Forecast, you will find a column with occupancy targets and a comparison with current occupancy.
How to set Targets/Budgets
To enter your targets/budget, navigate to Settings → Hotel → Target/Budget:
1. Select a year.
2. If you wish to set identical values for a specific period, select the period via the “Full Year” button, enter the data into the corresponding field, and use the lightning bolt button to auto-fill across all days of the selected period. When changing the period, previously entered data is retained.
3. Review the data for the entire period and save your changes.
Single Sign-On (SSO) with Google and Microsoft Accounts
We have added the ability to use corporate Google and Microsoft accounts to log in to Clock PMS.
What is the purpose? If you use a corporate Google or Microsoft account, you can link the users in your Clock PMS subscription with the users from the respective platform. This integration offers the following benefits:
- No need for a separate Clock PMS password. Users can log in to the system using their Google or Microsoft accounts.
- Option to use a passkey. You can use passkey authentication via Google or Microsoft.
- Centralised password management. User password changes are handled centrally.
- Centralised access management. When a user's access to their corporate Google or Microsoft account is revoked, their ability to log in to Clock PMS using that account is terminated as well.
How to activate SSO for your subscription
1. Open Settings → Users → Single sign-on (SSO).
2. Select an authentication provider – Google or Microsoft.
3. Enter your corporate account identifier:
- For Google: The company domain associated with the Google account.
- For Microsoft: The Microsoft Tenant ID, which can be found in your Microsoft account.
4. Select “Enabled” and save the settings.
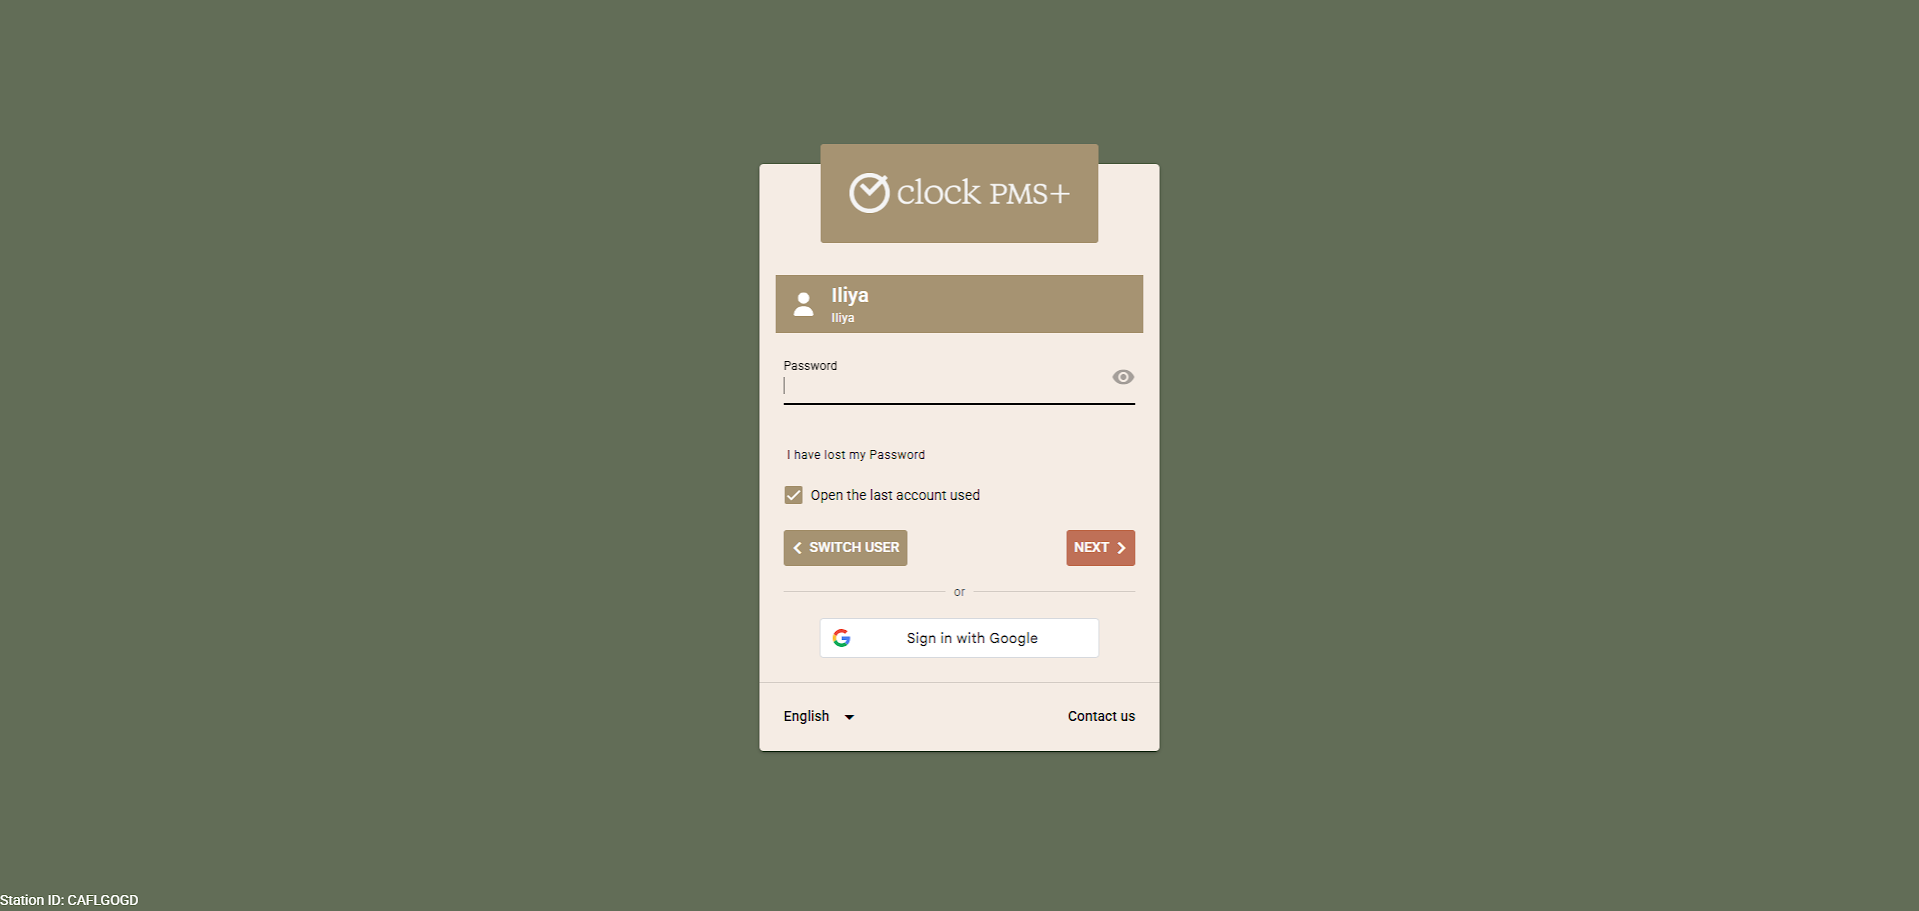
5. A button to log in via Google or Microsoft will appear on the sign-in page. At this stage, however, users will not yet be able to use it.
6. Open the edit screen for each user for whom you wish to enable SSO.
7. Select the SSO tab (top right), fill in the “SSO email” field with the email address the user uses in Google or Microsoft, and save changes.
8. Users with a populated “SSO Email” can now use the corresponding button to log in via Google or Microsoft.
9. Under these settings, users can log in either via Google/Microsoft or with their individual Clock PMS password. Therefore, once you have finished configuring the users, proceed to the final step.
10. To make SSO login mandatory for users with a populated “SSO email”, return to Settings → Users → Single sign-on (SSO), select “Enforced”, and save the settings. These users will then no longer be able to log in with their Clock PMS password, but only via Google or Microsoft.
Exceptions to the Enforced SSO mode
The restriction does not apply to users who do not have a populated “SSO Email”, as well as to the Master User. The Master User is the only one who can use both log-in methods when the “Enforced SSO” mode is active – both via Google or Microsoft, and with a Clock PMS password.
Improvements
- WBE and guest profile discounts. We have made further improvements so that discounts defined in guest profiles are applied more logically and consistently.
- Combining profile discounts with other codes. We have improved the way profile discounts interact with other features in the WBE, such as Bonus codes, Company codes, and Block codes. In these cases, profile discounts are not applied to the booking, as other codes take priority. For example, if a Bonus code is used, promotional rate prices are applied without additional profile discounts applied on top. The same applies to rates linked to a company or a block – profile discounts are not applied to them either.
- Clearer display of the profile discount. In the final step, we have added the value of the applied discount to the price breakdown. This allows the guest to clearly see how the final price was calculated and what discount they received.
- Document number generators – significantly improved control. We have made several changes to improve control over number generators, prevent duplicate numbers, and ensure a clear, reliable document numbering mechanism. Here is what is new:
- Number tracking. The starting value and current number are now visible for each number generator. This provides clarity on the range of numbers generated by it.
- Archiving number generators. Number generators can no longer be deleted. If you no longer need a particular number generator, you can archive it. This leaves a clear audit trail in the system for all numbers generated through it.
- Number generator history. We have added details showing when and by whom each number generator was created, as well as when and by whom it was archived.
- Editing restrictions. Number generators can no longer be edited. It is not possible to roll back or skip numbers. If you wish to start a new series, you must archive the current number generator and create a new one.
- Control when creating a new number generator. We have added a validation check to prevent duplicate numbers from existing number generators. The check covers the prefix, number, and suffix. This allows you to start a new series without duplicating previously used document numbers. For example, if you use the year as a prefix, you can safely start each new year with number 1, as the prefix will differ.
- New settings for document types – “Applicable to Company billing” and “Applicable to Guest billing”. These new settings, combined with existing required-field settings for companies and individual guests, give you even greater control over the validity of issued documents and compliance with accounting requirements. For example, you can set the document type “Bill” to be issued only to individual guests, while “Invoice” can be issued to both individual guests and companies.
- Bulk update of Company/Event/Block when editing multiple bookings. On the multiple bookings edit screen, we have added the ability to bulk update the “Company/Event/Block” field using the lightning bolt button. To prevent errors, we have also added a warning when the system detects that you are attempting to update bookings whose dates fall outside the Event period.
- Companies – new “Corporate Guests” section. For even greater convenience, Corporate Guests can now also be viewed and edited directly from the Company screen. Corporate Guests are profiles eligible to take advantage of the rates in the company's Corporate Contract. Thanks to this link, simply by selecting a guest profile, the system can automatically populate the Company and apply the rates from its contract. Previously, you could set a Corporate Guest by selecting a Company in their profile. Now, this setting is accessible from both screens – both from the guest profile and from the Company screen.
- SynXis – import of payments upon booking creation. If the initial booking XML contains information about a paid deposit, the system automatically creates a payment in the booking folio. Deposit information is retrieved from "DepositPayments.GuaranteePayment.AmountPercent". When updating a booking, payments are not processed to prevent duplicates. Similar to other channels, if payment information is received in an update, a To-Do task is created and a warning is added to the corresponding line in the Inbox.
- Navigation – displaying the user's name. In the navigation bar, after the hotel name, the name of the currently logged-in user is now displayed.
Fixes
- TO Contracts – calendars are now translated and respect the user's setting for the first day of the week.
- Editing multiple bookings (new) – resolved an issue where errors occurred when updating fields that trigger recalculation when booking charges were routed to a single folio.
- Cancellation policy – resolved an issue where the “Close Folios” option incorrectly closed open deposit folios as well.
- Invoice printout – in the new advance payment breakdown table required for Slovenia, the invoice number is now displayed instead of the folio number.
- Rate and Availability – resolved an issue where the “Closed to departure” restriction was not displayed in the list of applied restrictions.
- Check-in Kiosk – fixed an issue where logging in by name only found bookings with an arrival date of today or yesterday.
- Management reports – corrected the formulas for ADR, ADR per Bed, and RevPAR metrics. Previously, calculations were based only on revenue from the "Rooms" group, instead of total revenue from both the "Rooms" and "Packages" groups.
- Booking enquiry – improved the display of error messages upon failed row deletion.
- WBE – added the explanatory banner for discount application described in the previous changelog. It informs guests that discounts will be applied in the final step in the WBE.
Integrations
Salto KS
- Authorization: Fixed an issue where starting a new authorization process without completing it could disconnect an existing Clock–Salto KS integration. The authorization flow has been improved, and a warning has been added to prevent accidental disconnections.
- Lock recognition: Improved lock detection to ensure that only active locks are displayed.
PEPPOL e-Invoicing with gateway billit.eu
- Updated the list of supported identifier types.
- Improved recipient identification to increase the success rate of electronic invoice delivery.
Feratel
- Improved the handling of invalid guest birth dates. When a guest's birth date is invalid, the interface now determines the guest type using the Feratel guest code instead.
Lightspeed POS L-Series
- Improved charge creation to respect the configured Booking Charge Routing rules. Charges transferred from Lightspeed POS L-Series now follow the same routing logic as manually created charges, ensuring consistent behavior.
Lightspeed POS K-Series
- Improved the zero-total-amount validation so that it applies only to bills processed as hotel transfers.
Gastronovi POS
- Added support for Gastronovi's new option to display guests whose bookings do not allow charges. These guests are now visible to POS staff but cannot be charged, helping staff identify guests without accidentally posting charges to ineligible bookings.